Getting buyers to stop scrolling starts with how your home looks online. If you are planning a spring sale in Carmel Country Highlands, you want every photo, room, and outdoor space to work hard. In this guide, you will get a clear room-by-room staging checklist, a photo plan that highlights light and flow, and smart use of drone and 3D tours, plus a simple spring timeline and budget tips. Let’s dive in.
What buyers want this spring
Most buyers begin online and decide whether to tour based on photos and virtual content. That is why first impressions are everything. Well-staged homes tend to draw more showings, feel move-in ready, and can reduce days on market.
In Carmel-area communities, many buyers value natural light, indoor and outdoor connection, low-maintenance landscaping, and neutral, coastal-appropriate palettes. Carmel Country Highlands includes a mix of home styles and HOA rules, so focus on light, flow, and simplicity. Start prep 4 to 8 weeks before photos to hit the heart of spring demand.
Room-by-room staging checklist
Use this checklist to focus on flow, light, and livability. Keep decor neutral and scaled to the room.
Entry and curb appeal
- Pressure-wash driveway and walkways, clean windows, and sweep the porch.
- Trim hedges and add fresh mulch. Use tidy, low-maintenance planters with seasonal color.
- Replace worn house numbers and welcome mat. Remove visible trash cans and extra cars during photos and showings.
- If your HOA has rules on exterior decor or planters, review them before changes.
Living room and family room
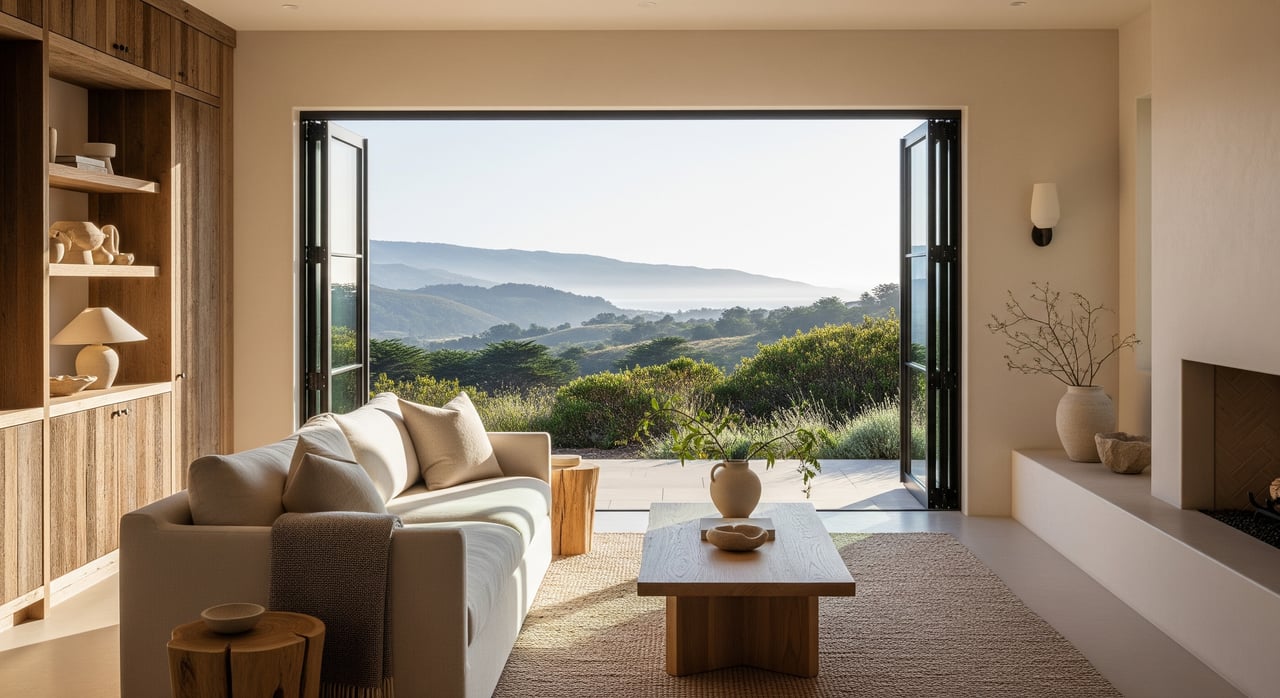
- Arrange seating to highlight the main focal point, such as a fireplace, view, or slider to the yard.
- Remove extra furniture. Use a rug sized to the seating area. Keep pillows and throws neutral with subtle texture.
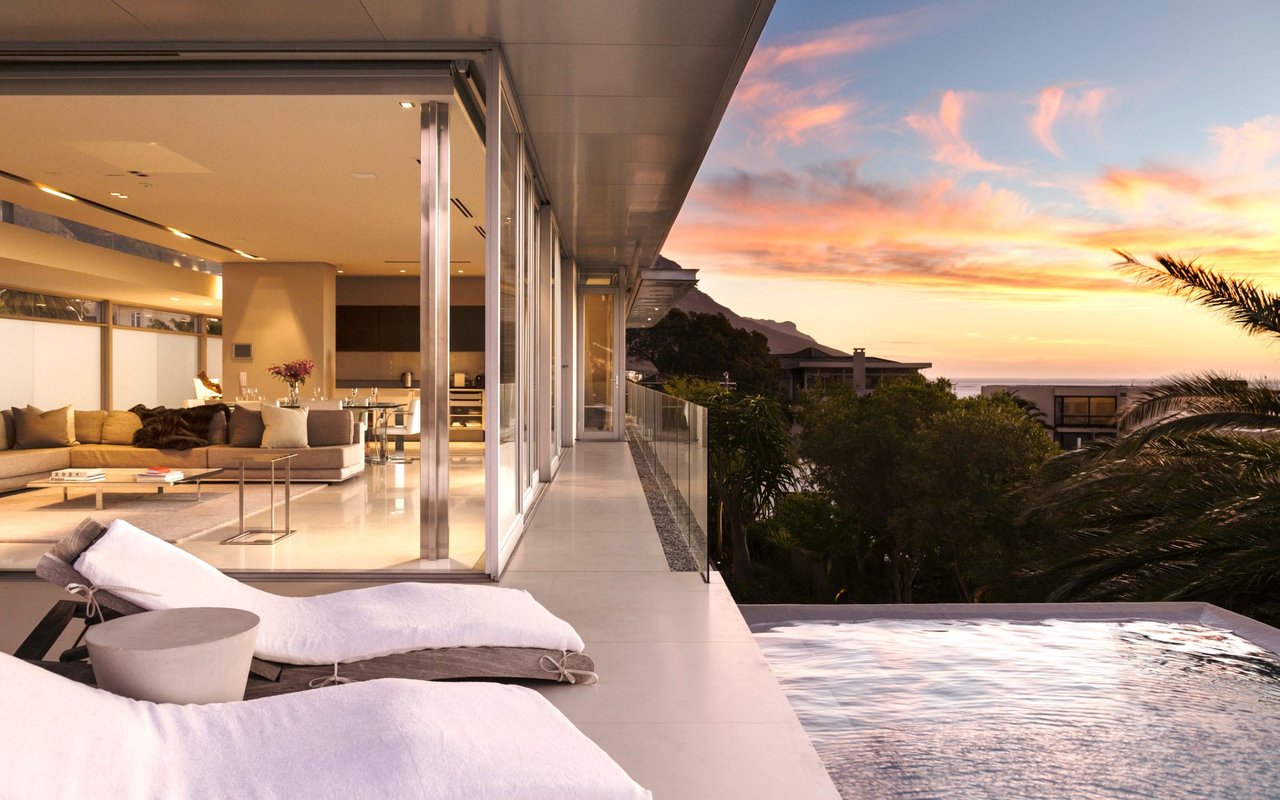
- Open blinds, clean slider tracks, and style the patio so the indoor to outdoor connection feels seamless.
Kitchen
- Clear counters. Keep only a few curated items, such as a wooden board, a bowl of fruit, and a small plant.
- Remove magnets and papers from the refrigerator. Hide small appliances and trash bins.
- Update lighting where practical. Use bright bulbs and clean pendants.
- Add a simple place setting on the island or a cookbook and vase to show scale and function.
Dining room
- Right-size the table so the room feels open. Remove bulky pieces that crowd walkways.
- Set a simple tablescape with a neutral runner and one low centerpiece.
- If buyers may value flexible use, consider one photo showing the room as a potential office.
Primary bedroom and bath
- Center the bed with a neutral duvet, two pillows, and a textured throw. Add matching lamps on nightstands.
- Clear surfaces and tidy cords. Use simple art and neutral curtains.
- In the closet, edit to 50 percent capacity with matching hangers and folded linens.
- Deep clean tile and grout in the bath, replace worn mats, and display crisp towels and a small plant.
Secondary bedrooms and flex rooms
- Stage rooms lightly to show size and flexibility, such as a guest room, nursery, or home office.
- Keep surfaces clear. Use neutral bedding and one piece of art.
- Edit closets and remove under-bed items.
Bathrooms
- Clear counters. Store personal items out of sight.
- Replace any tired shower curtains and re-caulk where needed for a fresh look.
- Polish hardware and mirrors. Add a folded towel and a small plant.
Home office or den
Use a clean desk and neutral chair with a small lamp and a plant.
Show outlet access and good task lighting.
Remove visual clutter so the space feels calm and productive.
Garage, laundry, and storage
- Declutter, sweep, and show organization with wall hooks or labeled bins.
- In the laundry area, clear detergents, add a simple tray, and use a plant or folded towels for a fresh touch.
Outdoor living and yard
- Treat patios and yards as extra living rooms. Use scaled furniture, an outdoor rug, and lanterns.
- Clean the grill and store tools. Style one seating zone instead of many small ones.
- Align sightlines from main rooms to the yard so the outdoor area feels like a natural extension of the interior.
Staging by home type
- Single level: Emphasize open sightlines between kitchen, living areas, and patio. Define zones with rugs.
- Two story: Make the main floor feel open and welcoming. Keep the stair area tidy, and present the upstairs primary suite as a private retreat.
- Condo or townhome: Maximize light, storage, and perceived space. Highlight community amenities in your listing content. Confirm any HOA limits on exterior decor or signage.
Photo plan that sells
Your photo set should show scale, light, and flow. Plan a clear shot list and prep the home so every image looks simple, bright, and inviting.
Essential shot list
- Exterior front straight-on and at a 45-degree angle, ideally at golden hour.
- Aerial or drone overview if allowed, plus roof and yard context.
- Entry and foyer from outside looking in, and inside looking out.
- Main living areas with corner-to-corner wide shots from opposite corners.
- Kitchen with island-focused shots, plus a detail photo of the range or backsplash.
- Dining room, primary bedroom, and primary bath from balanced, centered angles.
- Secondary bedrooms, office, laundry, and a tidy garage.
- Backyard patio, lawn or hardscape, and any views of greenbelts or community spaces.
- Three to five detail shots that show finishes such as hardware, built-ins, fireplace mantle, or a view.
Technical guidelines for your photographer
- Use a modest wide angle to avoid heavy distortion and keep vertical lines straight.
- Shoot interiors at roughly eye level. Lower the height slightly if a view is a highlight.
- Use bracketed HDR so windows and interiors are both well exposed.
- Declutter for photos. Hide cords, personal portraits, medication, pet bowls, and toys.
Styling that photographs well
- Choose texture over busy patterns for throws and pillows.
- Use one statement item per focal point rather than many small accents.
- Add fresh, upright greenery. A medium plant in main rooms and a small vase in kitchens and baths is enough.
- Keep a neutral palette with one or two soft accent tones that fit coastal California.
Use drone and 3D tours wisely
Drone and 3D tours can increase attention and help buyers understand layout before they visit. Both tools work best when the home is fully staged and the plan is clear.
Drone benefits and best practices
- Show lot size, roof condition, and proximity to amenities or natural areas with high, medium, and low oblique angles.
- Shoot at golden hour when possible, while avoiding shadows that hide yard space.
- Respect privacy. Do not capture neighbors’ backyards closely. Obtain written permission if needed.
- For commercial use, the operator should follow FAA Part 107 rules and any local or HOA restrictions. Confirm whether your HOA limits flights over common areas.
3D tour benefits and best practices
- Help buyers understand room flow, scale, and how indoor and outdoor areas connect.
- Fully stage and declutter before capture. 3D scans show every detail.
- Plan a logical path that starts at the entry, moves through main living areas, connects outdoor spaces, then covers bedrooms and baths.
- Add floor plans and labeled dimensions within the tour if available. Pair the tour with strong still photos for maximum engagement.
Legal, HOA, and privacy checks
- Review HOA rules and CC&R for exterior decor, temporary storage, signage, parking, and any photo or drone constraints.
- Confirm that your drone operator is certified for commercial flights. Follow local ordinances.
- Ensure that stagers and photographers carry liability insurance and provide written access windows for photos and showings.
Spring timeline and budget
Start early so you can list at the right moment and avoid rush repairs.
8-week staging timeline
- Week 8: Review comps and HOA rules. Order inspections for any needed repairs. Outline your staging and media budget.
- Week 6–7: Complete repairs, paint touch-ups, and landscaping refresh. Declutter and start a deep clean.
- Week 5: Hire your stager and photographer. Stage interiors and outdoor spaces.
- Week 4: Capture professional photos, drone footage, and a 3D tour on a bright day. Gather floor plans and dimensions.
- Week 3: Draft listing copy and pre-market to qualified buyers.
- Week 0: Go live early in the week to catch weekend shoppers.
Budget categories and ROI
- Decluttering and hauling: low to mid cost, high impact on first impressions.
- Deep cleaning and minor repairs: low to mid cost, improves perceived care.
- Professional staging: partial staging is a cost-effective option for lived-in homes; full staging is ideal for vacant homes.
- Professional photos, drone, and 3D tour: modest to mid cost, often repaid by quicker, more qualified interest.
- Track performance by days on market, sale-to-list price, and showing-to-offer conversion compared to similar nearby listings.
Quick checklist to print
- Declutter, depersonalize, and deep clean every room.
- Neutralize color palette and edit furniture for clear pathways.
- Highlight natural light. Open blinds and update bulbs.
- Style outdoor living to read as an extra room.
- Follow the shot list and prepare for drone/3D if allowed.
- Confirm HOA and privacy rules before exterior changes or flights.
- Stick to the 8-week timeline for spring launch.
Ready to put a proven plan behind your spring sale in Carmel Country Highlands? Our family team pairs hyperlocal expertise with a premium listing playbook that includes staging guidance, professional photography, drone and 3D tours, and targeted digital reach. With 500-plus sales and about $750M in volume, we focus on speed, presentation, and negotiation that protects your price. Connect with the Moore Realty Group to get a free valuation and a custom staging plan for your home.
FAQs
What is the best month to list in Carmel Country Highlands?
- Spring often brings strong buyer activity. Plan prep 4 to 8 weeks before photos so you can launch early in the week during your target month.
How much staging do I need for a lived-in home?
- Partial staging that focuses on main living areas, the kitchen, the primary suite, and the yard is a cost-effective approach for most occupied homes.
Do I need a drone and a 3D tour for my listing?
- If allowed by your HOA and local rules, aerials and a 3D tour can help buyers grasp location, lot context, and floor plan, which tends to boost qualified interest.
How do HOA rules affect staging and photos?
- Review CC&R for limits on exterior decor, signage, temporary storage, parking, and drone flights over common areas before you make changes or book media.
What should I remove before photos and showings?
- Personal photos, visible cords, small appliances, refrigerator magnets, medication, pet items, and excess furniture. Keep counters and surfaces clear and neutral.